MacBook Pro Logic Board Replacement: Comprehensive Guide
In today’s world, the MacBook Pro stands out as evidence to highest performance and creativity. But the most reliable devices can also wear out with time. The one component that can lead to issues is the motherboard which is the heart of the MacBook Pro.
But don’t worry, we are here to guide you to replace the motherboard successfully. So, come with us on the journey to unravel the role and replacement of the faulty motherboards. Let’s start!
Table of Contents
- Step 1: Diagnosing MacBook Pro Logic Board Issues
- Step 2: Gathering Necessary Tools and Parts
- Step 3: Preparing Your Workspace
- Step 4: Disassembling Your MacBook Pro
- Step 5: Replacing the MacBook Pro Logic Board
- Step 6: Reassembling Your MacBook Pro
- Step 7: Testing and Troubleshooting
- Troubleshooting Common Issues Post-replacement
- Step 8: Resources and Support
- Professional Repair Services For Complex Logic Board Issues
- Final Verdict
- FAQs:
- What Are The Signs Of A Failing MacBook Pro Logic Board?
- How Much Does It Cost To Replace A MacBook Pro Logic Board?
- Is It Possible To Upgrade The Logic Board In A MacBook Pro?
- Are There DIY Options For MacBook Pro Logic Board Replacement?
- Where Can I Find Reliable Sources For MacBook Pro Logic Board Parts And Repairs?
- Source:
Step 1: Diagnosing MacBook Pro Logic Board Issues
The logic board is one of the main components of the MacBook. The logic board is an alternative name for a motherboard in Apple computers. There are a number of issues which you might encounter if your logic board is faulty or have issues.
These problems include power problems, display issues and other minor issues such as WIFI connectivity and overheating. If you are experiencing these symptoms, you can expect that your logic board is faulty.
If you want to know that it is a logic board issue. You can investigate these symptoms in a little more depth. If your MacBook fails to start-up, this can be a battery issue. However, if your MacBook is plugged in with a power supply source and still refuses to turn on. You can definitely remain assured that the issue is with your logic board.
The second symptom of faulty logic board is the display. If you are experiencing an unusual display on the screen. Which remain inconsistent and shows faded out images you can identify that your logic board is faulty. To fully investigate this issue, you can connect your MacBook to an external display unit.
This unit can be a monitor or a TV and if the display comes perfect on these external devices. Then you can expect that the fault is in your display. If the display still doesn’t become clear and consistent then the fault is in your logic board. The overheating problem is another symptom of logic board problem.
The logic board is responsible for cooling unit to work efficiently. If your fans halt the working and your MacBook is overheating. This is another clear indication of a faulty logic board. All these symptoms reflect that your logic board needs a replacement.
Step 2: Gathering Necessary Tools and Parts
The logic board of MacBooks are very technical in terms of replacements and fixing. It is important to ensure that you have sufficient tools and skill set to conduct an effective replacement.
To make an effective replacement it is important to gather the tools which match the exact requirement of your MacBook specific model.
The first item which you need will be a logic board. This logic board should always be sourced from an authentic Apple repair center or Apple online website. There is a high chance that you might end up buying a defective or counterfeit logic board.
If you will try to find one from a third party. The other tools which you might need for the replacement are available on Amazon. These tools come in an all-in-one replacement kit. You can order this replacement kit by crosschecking the kit compatibility with your MacBook.
The tools which the replacement kit should include are:
- Phillips screwdriver
- thermal paste
- surface purifier
- cleaner for thermal paster
All these tools have their own parts to play when you are changing the logic board in your MacBook.
So, it is important that you don’t miss any tool mentioned above. As it will slow down or stop your replacement process.
Step 3: Preparing Your Workspace
Workspace safety holds an immense importance when you are replacing your logic board. The safety of workspace allows you to carry out the process without harming yourself and your MacBook.
There are a number of steps which you can follow to ensure that your workspace is anti-static and safe. The main goal of safety protocols is to make the workspace ESD-safe. It is always recommended to use the tools that are static-dissipative. This can be ensured by ordering the tools which are ESD safe.
The second step is to ensure that your apparel and clothing is specifically designed for ESD protection. This will make sure that even if there is an electric discharge you still remain safe. The third way to create a safe work environment is to wear an anti-static wrist band.
In addition, you have to make sure that every spot in your workstation is being checked briefly with regard to its ESD safety. You have to ensure that there are no spots which don’t fall in the ESD safe areas.
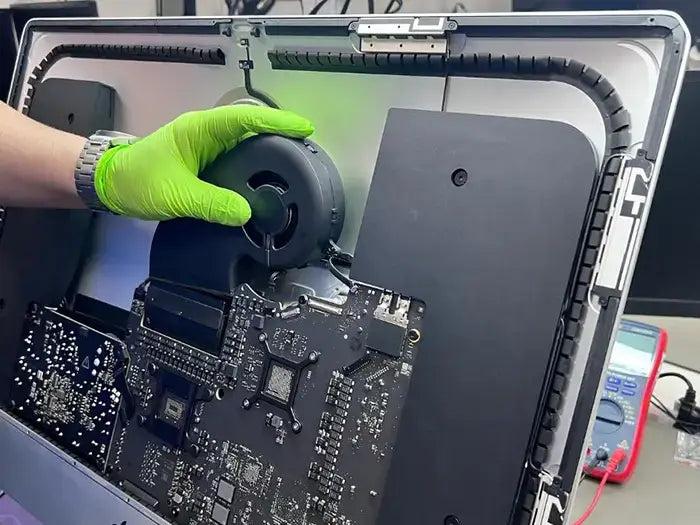
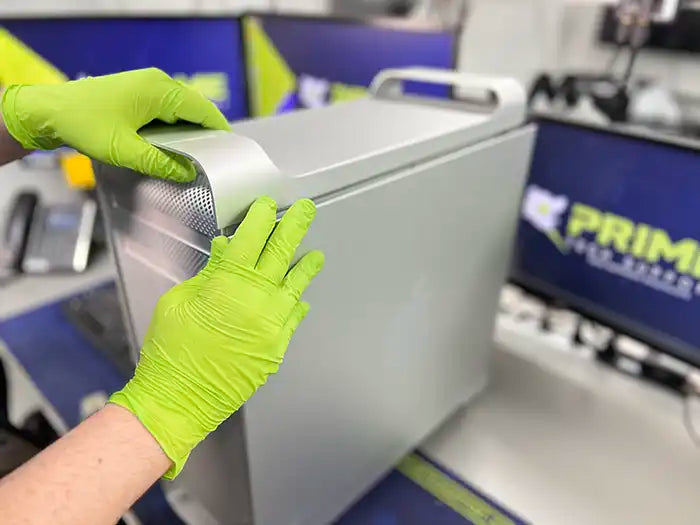
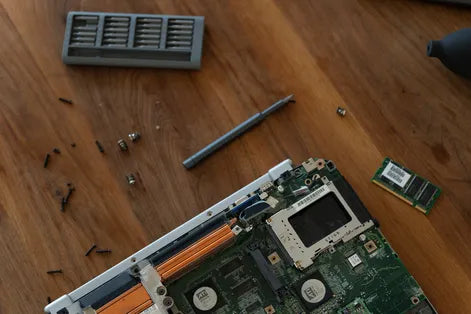
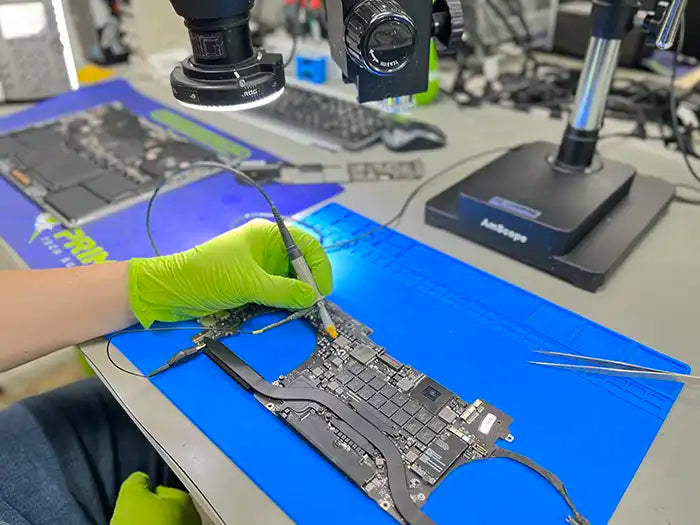
Step 4: Disassembling Your MacBook Pro
In this step, you need to remove the battery. Start by shutting down the MacBook Pro. Disconnect all cables. Then you need to disconnect any external components. You can proceed with detaching the other things like USBs, cards or HDMI cable.
Then you need to unplug the adapter and anything else connected with your MacBook Pro. After that you need to open the back panel. To do this, you need to use the correct screwdriver to remove any screws. Then open the back panel.
After this you need to check and disconnect all the internal components. To do this, you need to disconnect the RAM, hard drive and anything connected to the motherboard but be careful at every step. Finally, you need to refer to the technical documentation of the MacBook Pro for particular disassembling as this will vary slightly among models.
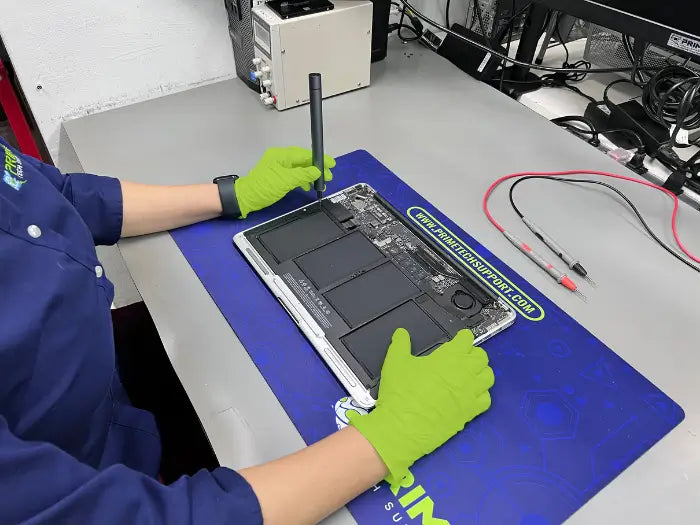
Step 5: Replacing the MacBook Pro Logic Board
Replacing the MacBook Pro logic board requires some steps. To do this, you need to classify the logic board connections.
Now you need to remove the old logic board by lifting it from its housing and ensuring it does not damage anything else.
After that you need to place the new logic board by aligning it accurately with the chassis of your MacBook Pro. You have to reconnect the cables as well as secure it with proper screws. You have to make sure that it fits without any extra force.
After that you need to reconnect all the other components as well. Start by attaching the hard drive, Ram and other components. Lastly, you need to close the MacBook Pro once the logic board is put in place. Use the removed screws to close the panel and your work is done here.
Step 6: Reassembling Your MacBook Pro
Reassembling your MacBook Pro becomes easy once you have successfully disassembled it yourself. The process of assembling the MacBook is exactly opposite to the disassembly. In terms of assembling the MacBook you have to first place the RAM on the logic board.
The second item which needs to be placed back is the speakers. The speakers are placed and then the two screws are screwed, which will keep the speakers Intact. The third step is to attach the sink board and also attach the heat sink sensor. Once you have you have carried out these steps, you have to screw back the Philip screws which will hold the heat sinks.
Now you can attach the camera cables and mount the camera. After these steps, reattach your fans along with fan connectors and then slip back the front and back panels on to your MacBook to complete the process.
It is very important for you to always double check the loose connections after you’ve completed the installation process. The loose crosschecking will include all the belts, connectors, screws mounts and cables.
If any of these ends might remain loose, you will have to do the entire process of assembling and disassembling again. Also, the loose ends might damage the components of your MacBook. Therefore, it is important that you always re-check all the connections and ends once you are done with the installation of your logic board.
Step 7: Testing and Troubleshooting
Testing and troubleshooting are one of the most significant steps of this process. The testing and troubleshooting allow you to cross check the functionality and working of your MacBook after completion of the process.
There are three main items which need to be tested after you’ve replaced your logic board. The testing should include the functioning of the display. The display should be consistent and there should be absolutely no fading of the images. This will ensure that the newly replaced logic board is working efficiently.
The start-up of the MacBooks should be closely observed in terms of behavior. The booting up behavior should be normal and similar to how it was before you diagnosed that your logic board was faulty. The third item which should be checked is your Wi-Fi connection and detection of any external device which is being connected to your MacBook.
Troubleshooting Common Issues Post-replacement
There are certain common issues which are being observed by the users after logic board replacement. These issues include display related issues. The users observe uneven display and grey scaled display images. These issues reflect that either there is a problem with your logic board or your display itself.
The users also experience the overheating of the MacBook after the replacement of the logic board. This overheating issue might be caused due to loosening connections of faulty logic board. There are also slim chances of OS crashing in your MacBooks. The functionality of the MacBook becomes floppy or inefficient.
Step 8: Resources and Support
Apple has a big users base which exists on the Apple threads. Apple threads is a platform promoted by the official Apple company. Apple threads allow the users to ask the queries which they have related to any of their Apple devices. These queries are addressed by the other individuals or professionals who use the same portal.
In addition, the professionals from the Apple repair center and customer support also participate in these discussions frequently. The overall Apple community tends to help each other by sharing solutions to the problems with the help of their past experiences.
The Apple community also exists on Quora; this platform allows people from around the world to share their problems. The people who have gone through similar problems share their experiences on how they fixed those specific issues.
Apple Inc provides its users with all the after sales services. These after sales services ensure that the company caters to all the problems of the user which are related to the Apple devices.
Professional Repair Services For Complex Logic Board Issues
The professional repair service offers to replace the faulty components free of cost, if they are still in the warranty. The devices who do not fall within the warranty criteria are then repaired by charging the user a certain amount of money.
To ensure that the users take full advantage of the Apple repair services, the company also offers extended warranties with just charging minor premiums.
Final Verdict
The logic board is one of the most important components of the MacBook. The entire functionality of the MacBook is dependent on the logic board itself. To identify the symptoms of faulty logic board always look for issues such as display, connectivity and heating issues.
The identification of faulty logic board is important as after this, you can move towards replacing the board. To ensure that your replacement is successful, always use products offered by authorized dealers and suppliers of Apple.
FAQs:
What Are The Signs Of A Failing MacBook Pro Logic Board?
The failing logic board has certain signs before it will completely fail. The failing logic board will cause heating up issues in your MacBook. These heating issues will arise due to the inefficient working of the cooling system. The failing logic board will also cause your MacBook to not identify the external peripherals which you will connect to the MacBook. You will also experience issues such as Wi-Fi. The MacBook will stop offering you external connectivity. This can also be observed when you are using Bluetooth.
How Much Does It Cost To Replace A MacBook Pro Logic Board?
The price of replacing a logic board will significantly vary with respect to its model year, size and version. To identify the exact cost of the replacement, you can go to my preference from the top left corner of your MacBook. There you will see the exact model and serial number of your MacBook. In general, a logic board replacement of a device which was launched after 2018 will cost you at least $920. The cost of the newer models such as models after 2020 will cost you around $1200.
Is It Possible To Upgrade The Logic Board In A MacBook Pro?
The Apple authorized repair centers don’t support the upgradation of your logic board. The Apple repair center only offers parts replacements. The repair center will only replace the part if it is faulty and then they will replace the part with the exact same part.
You might be able to upgrade the logic board if you are willing to get it done from any third-party. The logic board upgradation will force you to upgrade all the other components as well. These components will include RAM, graphic cards and cooling systems.
Are There DIY Options For MacBook Pro Logic Board Replacement?
Yes, there are DIY options for MacBook replacements. However, these DIY methods might not be highly suitable unless you have a highly professional skill set. The professional skill set is required because the logic board replacement requires you to strip down the entire MacBook in parts.
This might not leave any room for error because while replacing the logic board you might end up damaging the other components. If you are going to do the replacement with DIY methods, always ensure that you have all the required tools with you.
Where Can I Find Reliable Sources For MacBook Pro Logic Board Parts And Repairs?
It is recommended that you always buy your Apple devices parts from the authorized seller or Apple repair centers. Apple devices are highly delicate in terms of repairs and replacements. If you source your parts from any third-party, the system will pop-up error which will reflect that you are using non-genuine parts. To ensure the efficiency, work and improved lifespan of your Apple devices. You should always get your devices repaired from the Apple stores only.
Source:
https://cellphonerepair.com/common-issues/macbook-pro-logic-board-replacement
https://www.apple.com/newsroom/2023/01/apple-unveils-macbook-pro-featuring-m2-pro-and-m2-max/
Articles you might be interested in:


Same-day repairs
Mac Repairs
Fast tech support for Mac Computers. We exceed customer expectations and ensure satisfaction.